Many problems and issues encountered by Windows 10 are due to corruption, which can be caused by file system errors or faulty hardware. File System errors, also called Software errors, can be corrected, whereas a bad sector in the drive may lead to further problems shortly. Windows has a built-in tool, CHKDSK, also known as Disk Check, that allows you to scan and repair the disk if needed. This article helps you to run Windows 10 Disk Check using the steps below:
- Right-click the Start button and select Windows PowerShell (admin)
- Type in the following command:
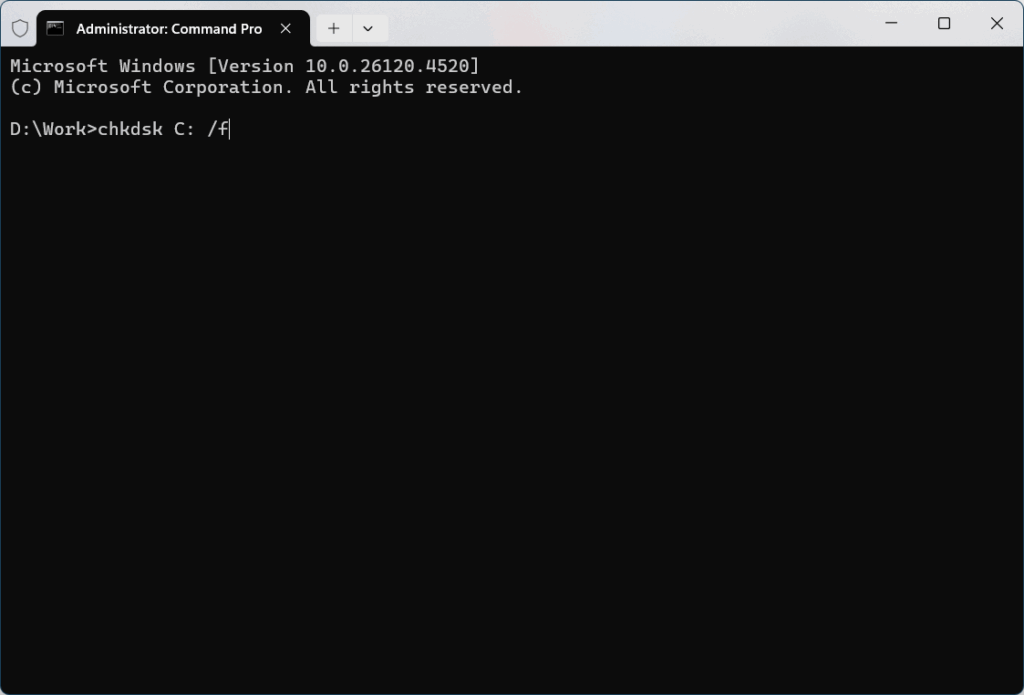
- chkdsk C: /f
- You would be told that the drive is locked and cannot be checked. Press Y to check the disk at next reboot.
- Restart the computer.
- On the boot Screen, Windows would check the disk. It might take hours, depending on the Level of corruption and the size of the drive.
- When the disk check completes, the computer will reboot again.
To see the results of the Disk check in Windows
To gather the results of the disk check, you need to view the Event Viewer logs. Here are the steps.
- Right-click Start and select Run.
- Type in eventvwr.msc and Press OK.
- On the left Pane, select Windows Logs.
- Double-click Application logs
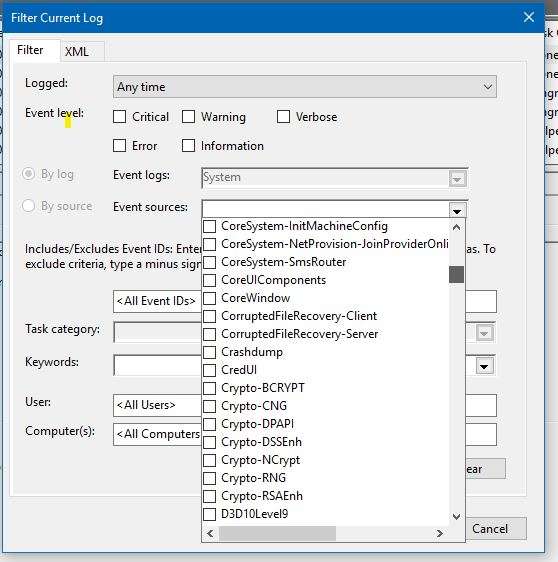
- Right-click Application Logs and select Filter current logs.
- Check the boxes chkdsk and Wininit under Event sources.

- You can view all Disk checking logs in the Event list, sorted by date.
- The bottom pane would have the results of the disk check, which can be copied and pasted if needed.
Also see: