Clean Install Windows 11
This article describes how to perform a Custom Install or a clean install Windows 11. A clean install is the last resort to fix when the computer stops working, and it requires a working computer to create an Installation media. Because the computer has a digital license already, you do not need to buy a new license as it would activate automatically.
How to Clean Install Windows 11
To do a clean install of Windows 11, the steps are summarized below:
- Create a USB flash drive containing Windows 11 Installation Media, using the Media Creation tool or Rufus.
- Start the computer from the USB drive containing WIndows 11 Installation media
- Click Install Now on the first screen and choose Custom Install from the list of options.
Applies To : Windows 11
Step 1: Create a USB Flash Drive of Windows 11.
Create a USB flash drive to install Windows 11. Once you have it ready, proceed to Step 2. I have written in detail in the article below about the same. You may need to use another computer in case the current one isn’t working.
Create a Windows 11 USB Flash drive
- Plug in the USB device.
- Change the BIOS firmware settings so your device can boot from the USB drive instead of the existing hard disk. To change this setting, you need to press a key at startup, which varies by manufacturer. Some most common keys are below as per the manufacturer:
- Dell: F2
- Acer: F2
- HP: Esc/F10
- Gigabyte: Delete/F12
- MSI: F11
- Lenovo: F1/F2
- Miscellaneous: Esc
For complete instructions, refer to the computer manual.
Sometimes, you may need to disable the Secure Boot and Fast Boot options in the BIOS to start a clean Install Windows 11.
Step 2: Start your computer from the USB Flash drive
When the computer starts using the installation media, you will see a screen like this. Press a key from the keyboard to begin the Windows 11 clean install process.

Choose your language, time, and regional Format.

Click Install Now button on the screen.

The next step is the license key. If Windows 10 or 11 was previously activated on the device, Windows would automatically activate when you connect to the Internet. In that case, please select I do not have a product key.

The next step you may see is which edition you want to install. If Windows came preinstalled with the device, you would not likely be asked for this, as Windows would pick the key from the BIOS and install the specific version, like Home Single Language for clean install Windows 11. If you are asked, select the edition. Make sure it is the same version as it was before. The standard ISO file has the following editions:
- Home
- Pro
- Home Single Language
- Pro for Workstations
- Education
- Windows 11 N and KN

Click Next.
Accept the license terms. Select Custom Install to install a fresh copy of Windows

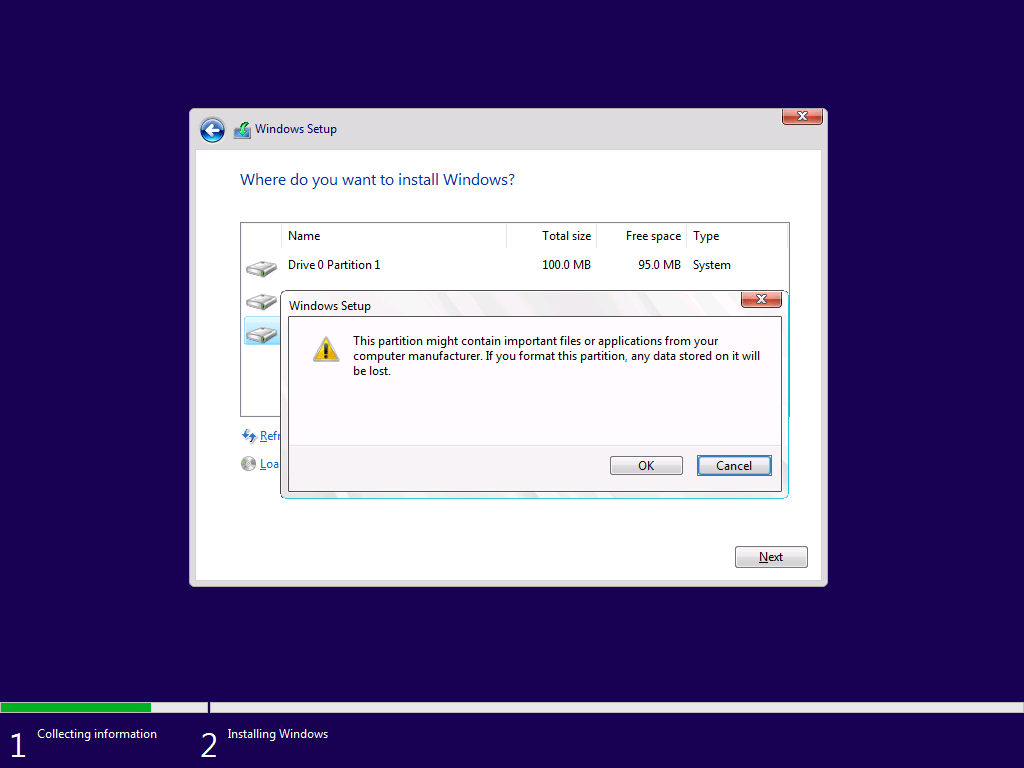
Now, the following screen would ask you which partition you want to install Windows. Typically, the second partition on the list in GBs is the one where the Windows was previously installed.
Select that drive. If you have the data from the drive, including the user data from Desktop, documents, or Downloads, backed up. Click Drive options and choose Format. This would remove everything from the current drive and start fresh. If in case your computer is not starting, select the drive and click Next. This would move the existing Windows installation to Windows.old, from where you can restore the files later. If Windows is short of space, you must format the drive to proceed.

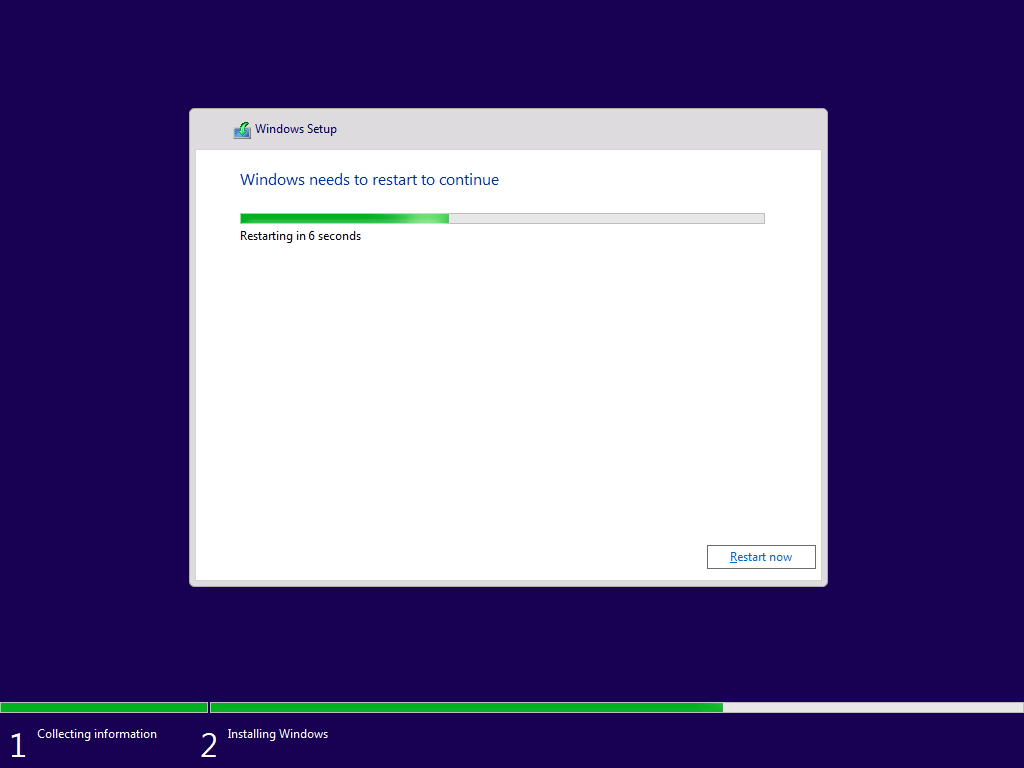
Wait while Windows Installs. You may see a couple of restarts in between.

After this process, Windows would install hardware drivers and restart again.
Step 3: Out of the Box experience for Windows 11
After this process is complete, Windows would start the Out of the Box Experience that helps you setting your device according to your Preferences.

Sign in to your Microsoft Account you use to sign in to the PC. For Windows 11 Home, Microsoft mandates using an online account. For Windows 11 Pro, you can sign in with a Local account. Internet connection is mandatory at the first startup for Windows 11 Home. Create a Windows Hello PIN for easy access.

If you have used Windows 11 on the same device, restore the backup using the Microsoft Account.

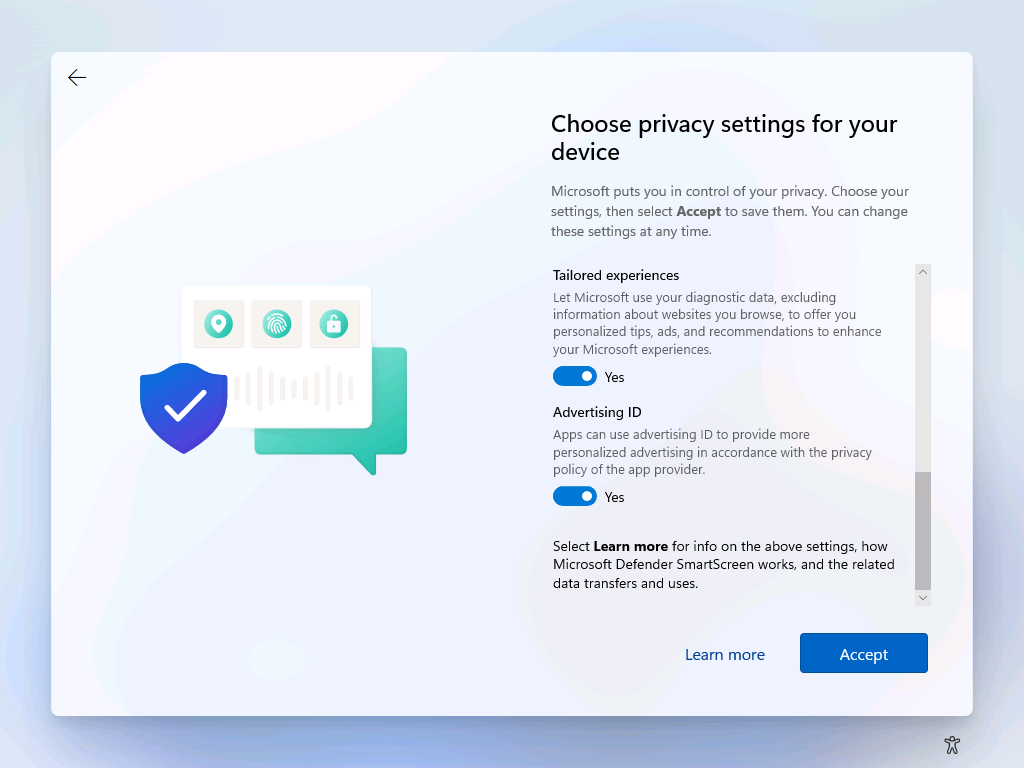
Review the Privacy Settings.

The next step is Cumulative updates. Windows 11 installs cumulative and security updates in this phase, unlike Windows 10 where the updates are installed after you reach the desktop.


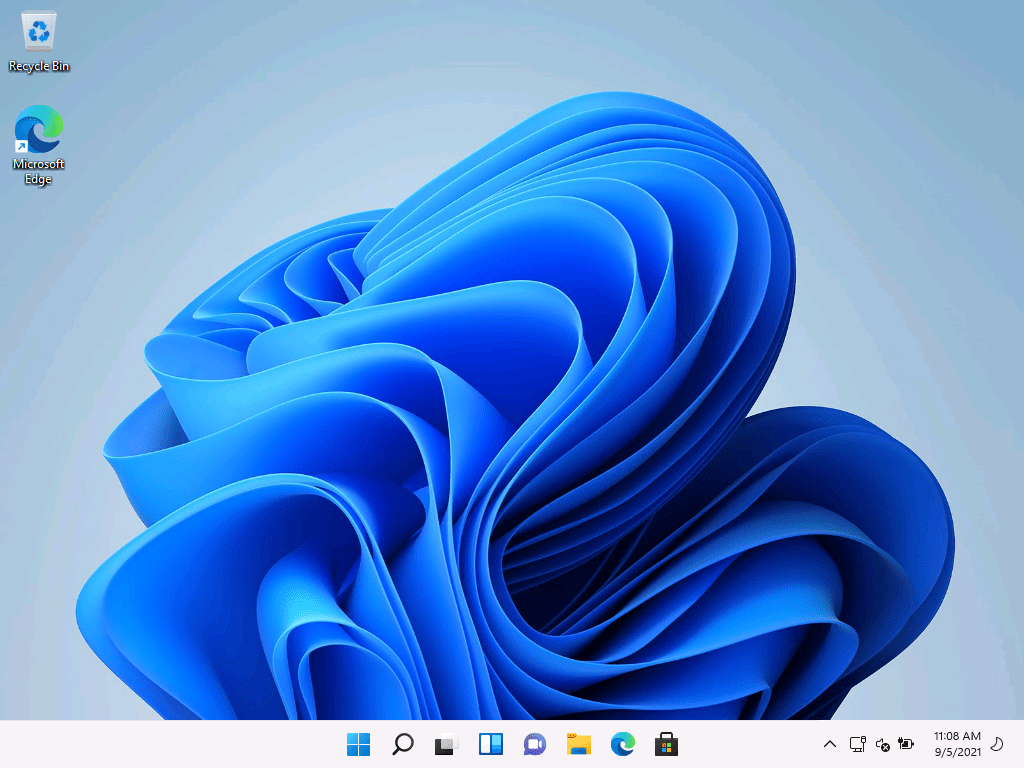
You would see the desktop after this process is complete.

This article helps you to clean Install Windows 11, also known by the name of Fresh Install. Also, go through other guides for Windows 11 below:
