Complete Walkthrough: Uninstall Windows 11 24H2
Follow these methods to uninstall Windows 11 24H2 and revert to the previous version of Windows. These steps are essential if you encounter performance issues, compatibility problems, or other errors after upgrading to the new version.
Method 1: Uninstall Windows 11 24H2 via Settings
- Open Settings: Press
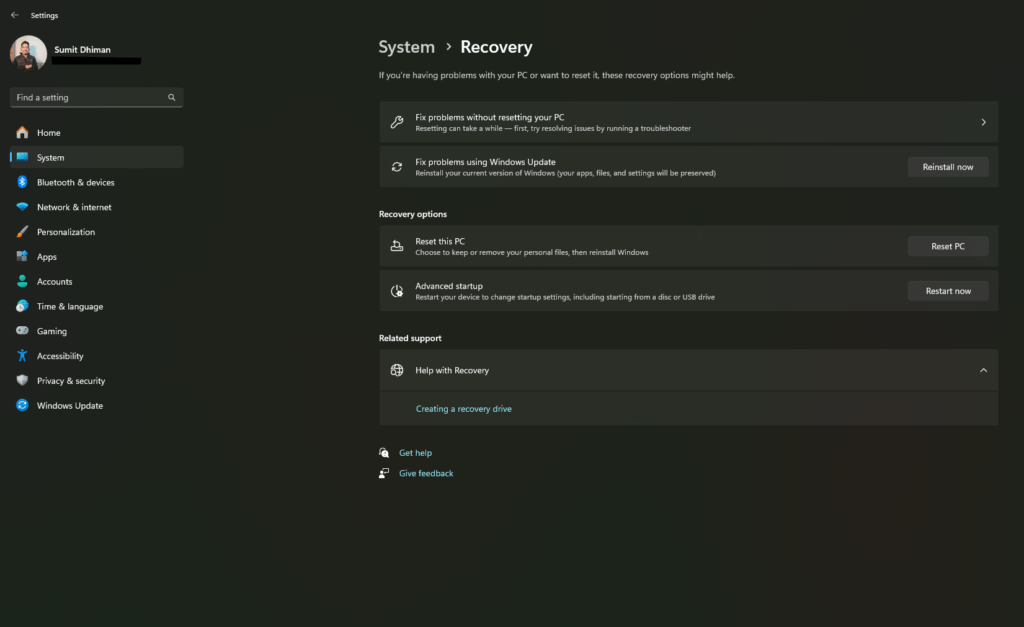
Win + Ion your keyboard to open the Windows Settings. - Navigate to System: Click on System and select Recovery from the menu on the right.
- Go Back Option: Under the “Recovery options” section, click the Go back button.
- Follow the Prompts: Click Next, then select No, thanks when prompted. Continue clicking Next until you reach the final step.
- Revert Update: Click the Go back to earlier build button to start the rollback process.

This method to uninstall Windows 11 24H2 is only available within 10 days after installing the update. After this period, Windows automatically deletes the old installation files to save space.
Method 2: Use Windows Recovery Environment (WinRE)
Furthermore, if you’re unable to boot your computer or it becomes unresponsive, you can access the Windows Recovery Environment to uninstall the Windows 11 24H2 update.
How to start Windows Recovery Environment (WinRE) in Windows 10/11 – Your Forum Mentee
- When the boot screen is shown, restart your computer twice, either using the Restart button on the computer or pressing and holding the power button for 5 seconds. Consequently, you would see a screen indicating your PC did not start correctly.
- Click the Advanced Options button, and you will be in the Windows Recovery environment.
- From there, select Uninstall updates, then select the “Uninstall latest feature update” option.
- This method is useful if you are unable to access your desktop due to boot issues.

Method 3: Clean Install Previous Windows 11 version
If neither of the above methods is available or 10 days has passed, you will have to do a clean install.
- Backup Data: Ensure all important data is backed up.
- Download ISO File: Obtain a Windows 11 ISO file for a previous version (e.g., 23H2).
- Create Bootable USB Drive: Use a tool like Rufus to create a bootable USB drive with the ISO file.
- Boot from USB: Insert the USB drive into your PC and boot from it by selecting it in your BIOS/UEFI settings.
- Install Windows: Follow the on-screen instructions to perform a clean installation of the older version.
This approach is necessary if you missed the 10-day rollback window or need a fresh start due to persistent issues. More about it is in this post.
These methods provide two unique solutions to uninstall Windows 11 24H2 and reverting to an earlier version, ensuring your system runs smoothly without new update-related issues.
