This article works on a known issue after the September updates, where a problem arises leading to Windows 11 Network Sharing not working.
Table of Contents
What is Network Share in Windows 11?
A network share in Windows 11 allows you to make specific folders, files, or even entire drives accessible to other computers and devices on the same local network (LAN). By configuring permissions and enabling discovery features, you transform a standard folder into a shared resource that colleagues or family members can view or edit from their own machines, eliminating the need for physical media like USB drives to transfer data. This functionality relies on the Server Message Block (SMB) protocol and requires your network profile to be set to “Private” rather than “Public” to ensure your device is discoverable and secure for internal sharing.

Known issue with Windows 11 Network sharing not working properly after Recent updates
After Microsoft deprecated SMB1 in 2022, network sharing on many Windows PCs has been erratic, especially after Windows 11 24H2, which we covered in our mapped drives article. Microsoft is making adjustments to the network sharing with the September monthly update to Windows 11, there have been many reports of network sharing not working correctly. Microsoft has also acknowledged this recently and provided some workarounds, which will be shared below.
Fix the Network share in Windows not working
There are some fixes for Windows 11 Network sharing not working, which are below:
Enable Insecure Logons using PowerShell
The most common fix, reported by users as most effective, is to enable Insecure Guest Logons. For this issue, some PowerShell commands need to be run. Here are the detailed steps:
- Right-click the Start Button and choose Windows terminal (Admin).
- In the Window that opens, copy the commands given below and paste them one by one.
- Press Y when prompted.
- Restart the computer.
Set-SmbClientConfiguration -RequireSecuritySignature $false


Set-SmbClientConfiguration -EnableInsecureGuestLogons $true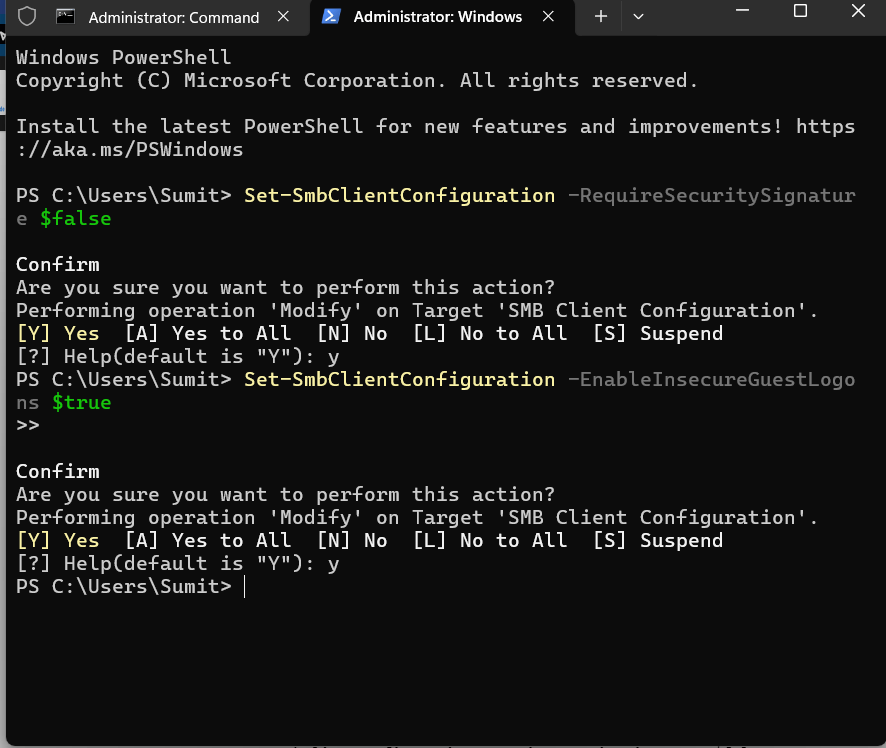
Make sure Network Sharing Services start automatically
Another problem with Windows 11 users is the absence of Network sharing services not running. To ensure the services are running, see it below:
- Please press Win+R keys and type “services.msc”.
- Press Enter.
- Right-click each of the service mentioned below and select Properties. If they’re not running, select Start, and next to Startup type, select Automatic and then click OK.
- Function Discovery Provider Host
- Function Discovery Resource Publication
- SSDP Discovery
- UPnP Device Host
To summarise, these steps can help you resolve the Windows 11 network sharing not working error.


