This easy-to-follow guide will help you to turn off Windows Defender, aka Windows Security, in Windows 10 and 11. Please note that doing this step is risky and directly invites a Virus infection on your machine.
Table of Contents
About Windows Security in Windows
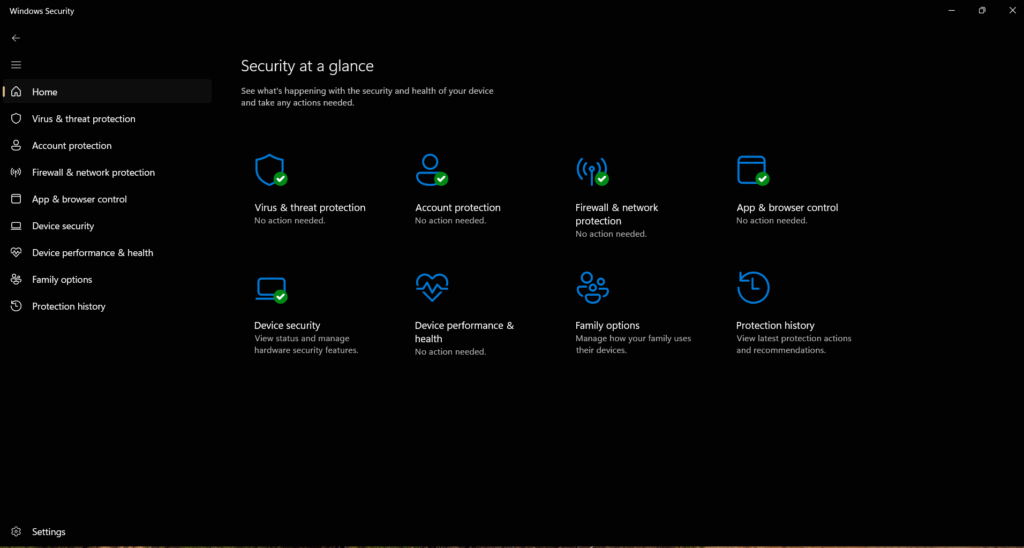
Windows Security, which many of us still remember by its former name, Windows Defender, serves as the de facto AV for your PC. It has evolved from a basic tool into a robust security program, offering a solid first line of defence against viruses, ransomware, and other digital threats without any extra cost or setup. While it operates efficiently in the background, there are specific scenarios, such as installing a conflicting third-party application or performing advanced system tweaks, where you might find it necessary to turn off Windows Defender. Understanding how to manage this essential feature is key to maintaining both the security and flexibility of your Windows experience.
Easy way to Disable Windows Defender – use WD Remover PowerShell script
The easiest way to disable Windows Defender is to use a script named DefenderSwitcher on GitHub. Typically, GitHub scripts, since they are public, are scanned by users, so they are not risky. Thereby, they can help you to disable Windows Security. You can download it here.
To use this script, see the steps below:
- Download the EXE file. You might get some warnings since this file affects the security of the device, but keep clicking the “Keep button” until Edge/Chrome Downloads the same.
- When you open the file, you will be notified that it was blocked. Allow that in the Windows Defender Panel.
- Follow the on-screen instructions.
- This would disable the Windows Defender permanently.
- To undo the changes, open the tool again and select “Enable Windows Defender”.

Disable Windows Defender using Built-in Windows Tools
Windows also provides Group Policy and Registry edits to enforce policies, which can help to turn off Windows Defender. These are described below.
Using GPEDIT.MSC to turn off Windows Defender, aka Windows Security
This method is valid for Windows 10 or Windows 11 Pro editions. The complete steps are here:
- Press the
Windows key + Rkeys to open the Run Dialog box. - Type
gpedit.mscand press Enter. - Navigate to
Computer Configuration>Administrative Templates>Windows Components>Microsoft Defender Antivirus. - Locate and double-click the policy named “Turn off Microsoft Defender Antivirus”.
- Select the
Enabledoption. - Click
Apply, thenOK. - Restart your computer for the changes to take full effect.
- To undo the changes, switch the Toggle to disabled and restart the computer.

Using the Registry Editor to disable Windows Defender
For Windows 10/11 Home editions, you can enforce the group Policy you just set using a Registry edit as well, but the steps are a bit complicated.
- Open the Run dialog box as indicated above.
- Type
$regedit$and press Enter. - Navigate to the following key:
HKEY_LOCAL_MACHINE\SOFTWARE\Policies\Microsoft\Windows Defender - Take the key’s ownership. Details about taking ownership of a Regsitry key here.
- Right-click on the
Windows Defenderkey in the left pane, selectNew, and then clickDWORD (32-bit) Value. - Name the new value
DisableAntiSpyware - Double-click the newly created
DisableAntiSpywarevalue and change itsValue datato 1 1 means enabled, and a value of 0 means disabled. - Click
OK. - Restart the computer and Windows Security should be turned off.