Various methods for scheduling an Email in Outlook New, Classic, and Web in this article
When you write an email, timing matters. In this guide, you will be shown simple ways to schedule an email in Outlook, so it goes out exactly when you want. Whether you use the new Outlook, classic desktop app, or Outlook on the web, you will find clear, step‑by‑step methods here.
Why is Scheduling Important?
Not every email needs to go out the moment you write it. Sometimes you finish an email late at night, but do not want it to land in someone’s inbox at midnight. Other times, you want your message to reach a client at the right moment, like Monday morning, when they are most likely to read it. Scheduling an email lets you write it at your convenience and send it at the right time. It helps you look professional, stay organized, and avoid sending emails at odd hours.
How to Schedule an Email in Outlook versions?
The steps to schedule an Email in Outlook, divided by each version, are below:
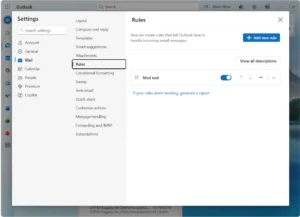
Outlook Classic
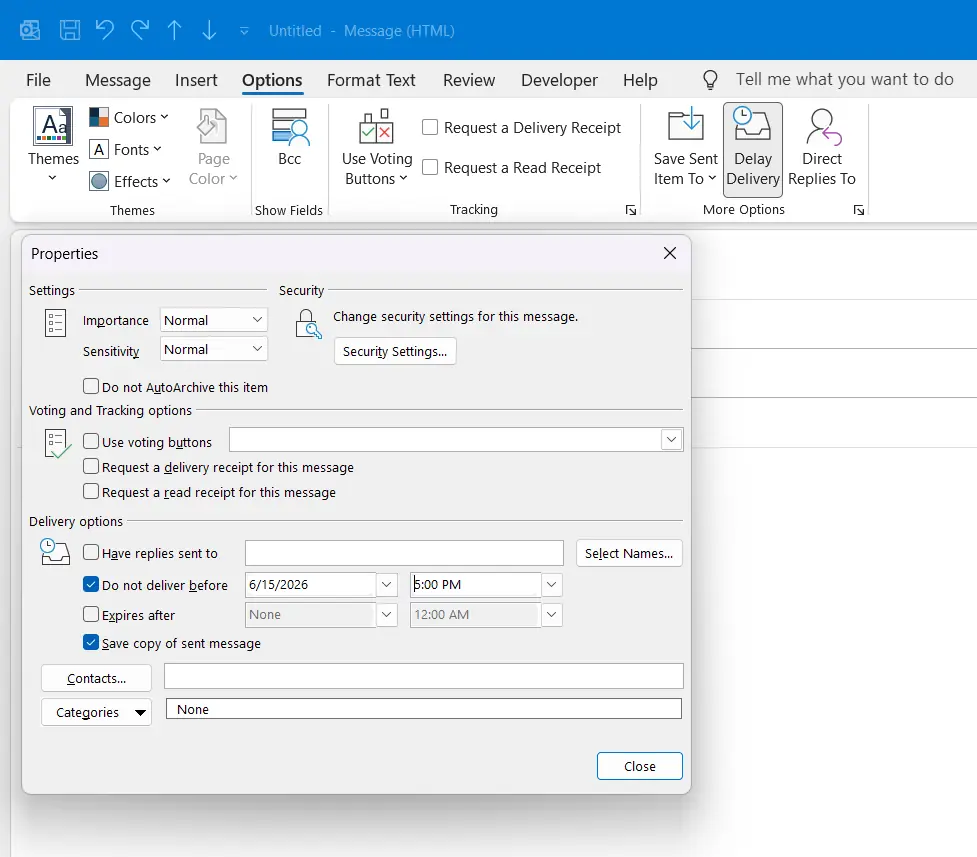
In Outlook Classic, the steps to shedule or delay an Email is handled by the Message Tab. See the steps below.
- Open Outlook Classic and click New Email to compose a new message.
- In the new email window, click the Options tab on the ribbon.
- In the More Options group, click Delay Delivery.
- In the Properties window that opens, check the box next to Do not deliver before.
- Set your preferred date and time using the drop-down fields next to it.
- Click Close to go back to your email, then click Send. Outlook will hold the email and send it automatically at the scheduled time.
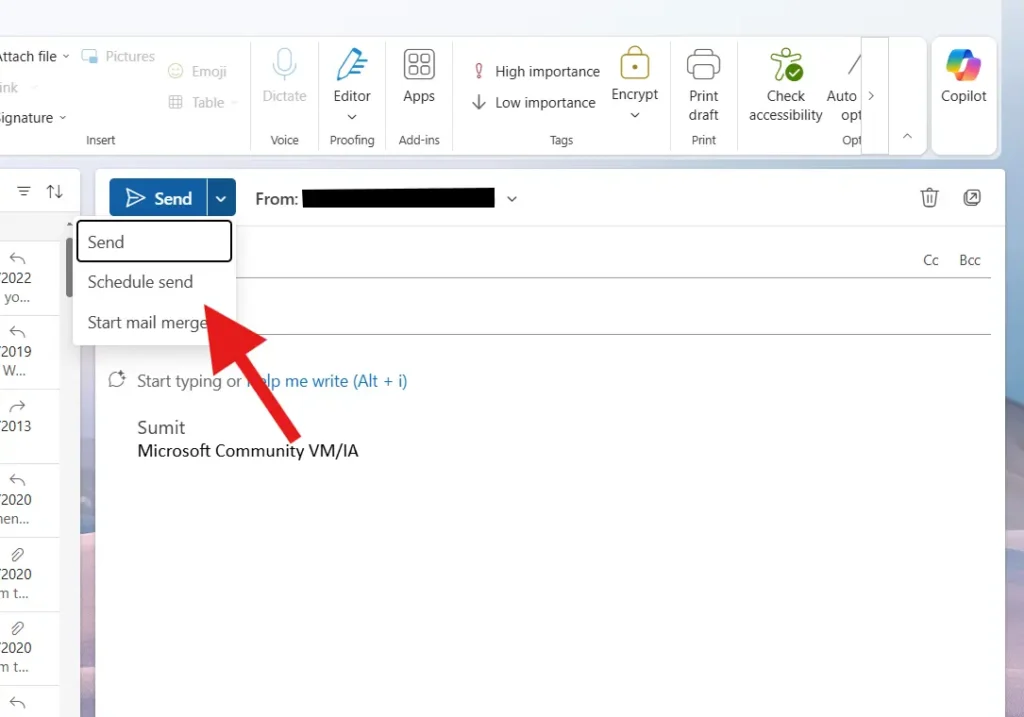
Schedule an Email in the Web or Outlook New
The steps on how to schedule an Email in Outlook Web and New are below.
- In Outlook New, click New Email.
- Under Send, Click the down arrow and click Schedule send.
- Select the Date and Time, and done.
To summarize, the steps in these article will help you to schedule an Email in all Outlook versions.
Also check:
How to Change Signature in Outlook 365 and new if you cannot find the Settings [Quick Guide]